Select your user interface:
Exercise 8: Configure a Batch Template from a Batch Type
With the dependencies loaded, we can load the Batch Type Spec. After you load the spec, you can use it within the Infinity shell user interface as well as access the batch through the AppFxWebService API. Below, we create a batch template for our new Food Item Add Batch using the Infinity shell user interface.
Step 1 - Add an additional required form field.
-
As a little experiment, set the CURRENTCOST form field's Required property equal to "True" within the Data Form Specs referenced within by the batch type (Add Row, Edit Row, Commit Add). We will soon see the effect this has on the batch.
<common:FormField FieldID="CURRENTCOST" Required="true" DataType="Money" Caption="Current Cost" DefaultValueText="0.00" />
-
Make sure you modified all three specs. The form fields should be consistent. After the three specs' form fields are altered, load each of the three Data Form Specs.
Step 2 - Navigate to the Batch Entry page to configure the batch template.
Navigate to the Administration functional area and click the Batch task, then click the Batch entry task that opens the Batch Entry page.
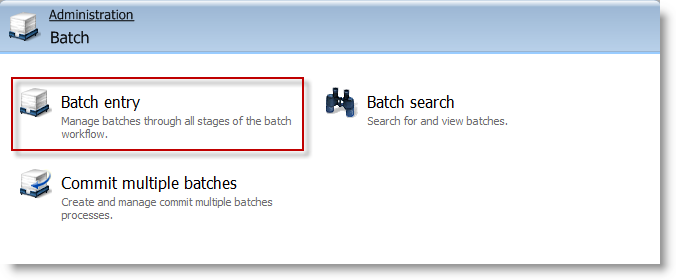
Figure: The Batch entry task
Step 3 - Configure a new batch template.
-
In the Configuration action group on the left, click the Batch templates action to open the Batch Templates page.
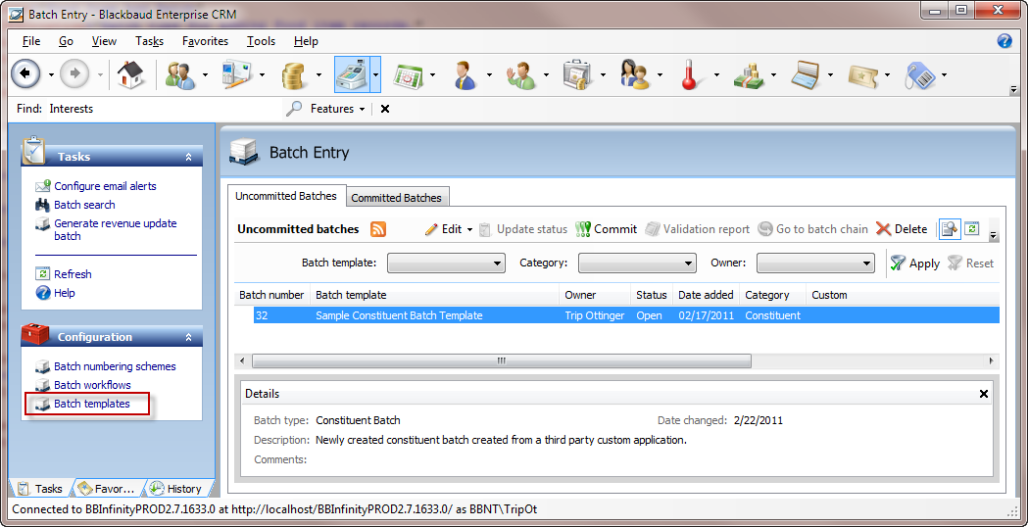
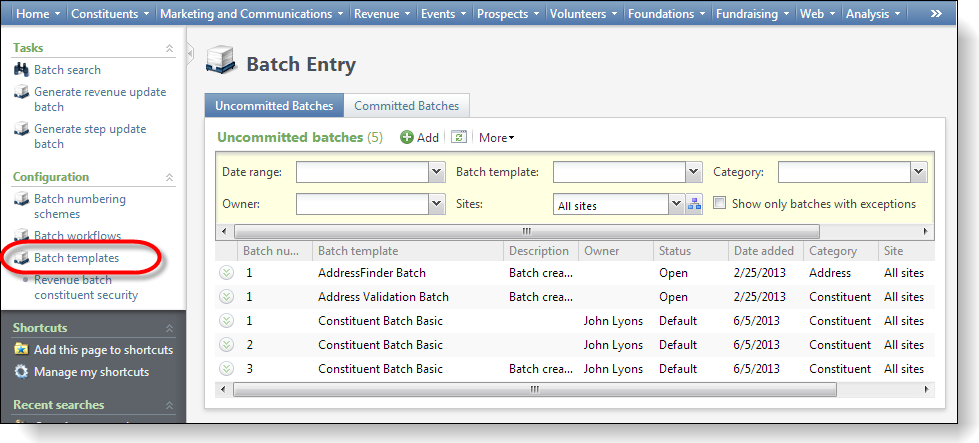
Figure: Configure a new batch template
-
From the Batch Templates page, configure a new batch template by clicking the Add action above the Batch templates data list.
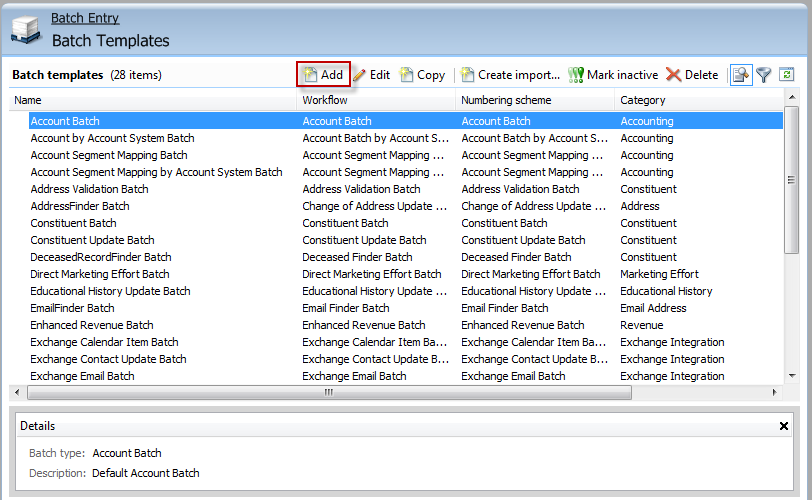
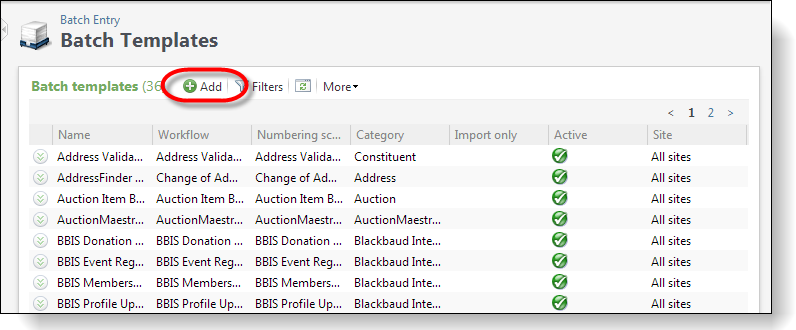
Figure: Use the Add action to add a new template
To create batch templates, enter a name and description, select a batch workflow, and select batch numbering scheme. We provide this information on the Let's get started tab below.
-
As a matter of convenience, select an existing workflow and numbering scheme.
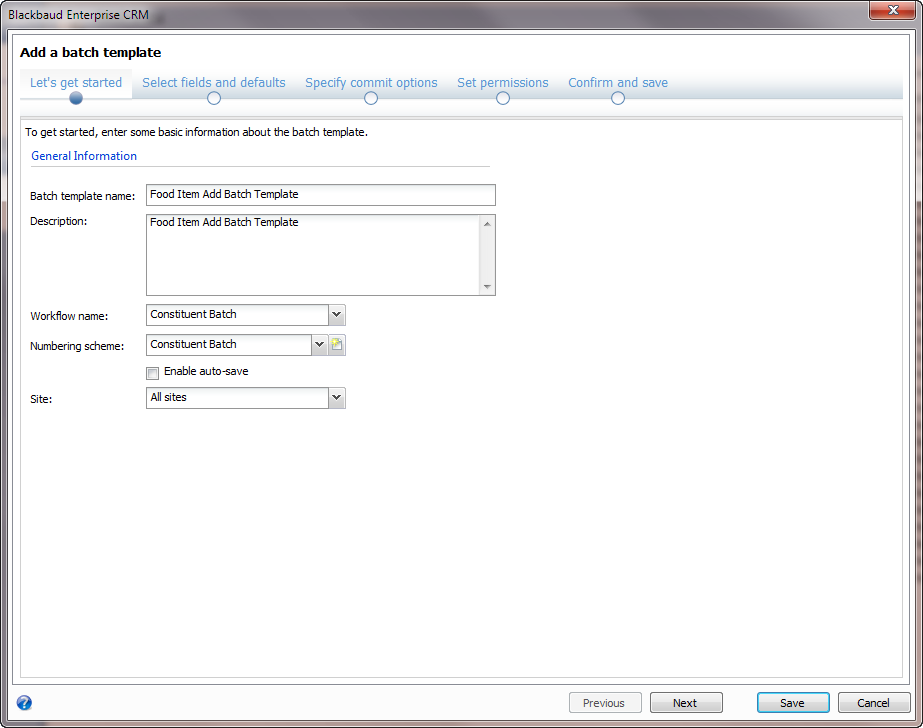

Figure: Let's get started tab.
Select Fields on the Batch Template from the Batch Type
Step 4 - Select fields on the batch template from the batch type.
Batch templates allow us to select fields from a selected batch type.
On the Select fields and defaultstab, select the batch type and the fields for our template. The fields within the Available field options list are populated with the form fields listed within our data form specs. Notice only the visible form fields are listed, and therefore, we don't see the SEQUENCE form field (green highlight).
<common:FormMetaData>
<common:FormFields>
<common:FormField FieldID="SEQUENCE" Required="true" Hidden="true" Caption="Sequence" />
<common:FormField FieldID="NAME" Required="true" MaxLength="100" Caption="Name" />
<common:FormField FieldID="DESCRIPTION" Caption="Description" DefaultValueText="" />
<common:FormField FieldID="CURRENTCOST" DataType="Money" Required="true" Caption="Current Cost" DefaultValueText="0.00" />
<common:FormField FieldID="LOWINVENTORYTHRESHOLD" DataType="SmallInt" Caption="Low Inventory Threshold" DefaultValueText="0" />
<common:FormField FieldID="WEIGHT" DataType="Decimal" Caption="Weight" Description="The weight of a food item." Precision="10" Scale="2" DefaultValueText="0.00" />
</common:FormFields>
</common:FormMetaData>
Required Fields and Default Selected Fields
Notice the Name and CurrentCost fields are automatically selected for us (red arrows). We see this behavior because the NAME and CURRENTCOST form field's Required attributes are set to "True" (yellow highlight above).
With the inclusion of the DefaultSelectedFields element in the BatchTypeSpec, you see the Low Inventory Threshold field (orange arrow) is pre-selected for you.
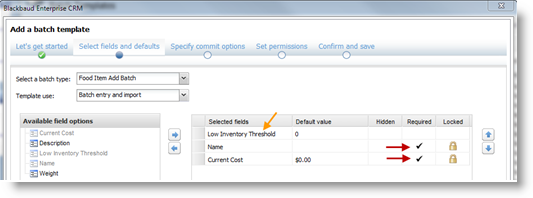

Figure: Required fields and default selected fields
Step 5 - Add the remaining fields, hide fields, set a default value.
-
Go ahead and add the Description and Weight fields from the list of Available field options to the Selected fields list.
-
Additionally, mark the Low Inventory Threshold field hidden with a default value of "10." Marking a field as hidden still saves the default value to the staging table, but the field is not visible in the user interface grid when it comes time to add records to the batch.

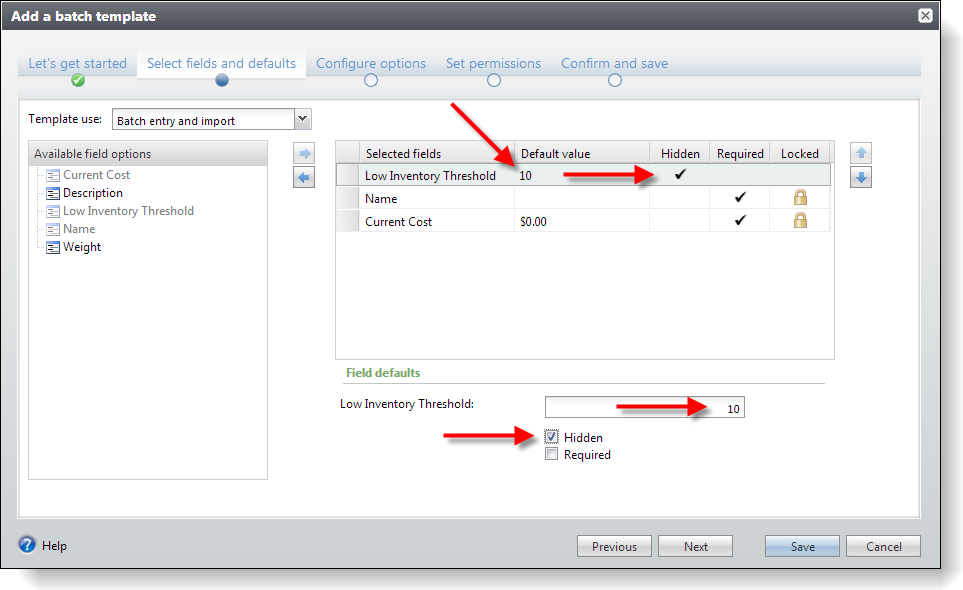
Figure: Default value for the hidden low inventory threshold
Step 6 - Specify commit options.
On the Configure options tab, we will accept the default option to create an exception batch. When the rows are committed and rows are transferred from batch staging tables to production tables, any rows within the batch that cause an exception will end up in a new exception batch. Rows that violate data integrity rules are marked with an exception message within the exception batch.
On the Configure options tab, select the Create exception batch checkbox.
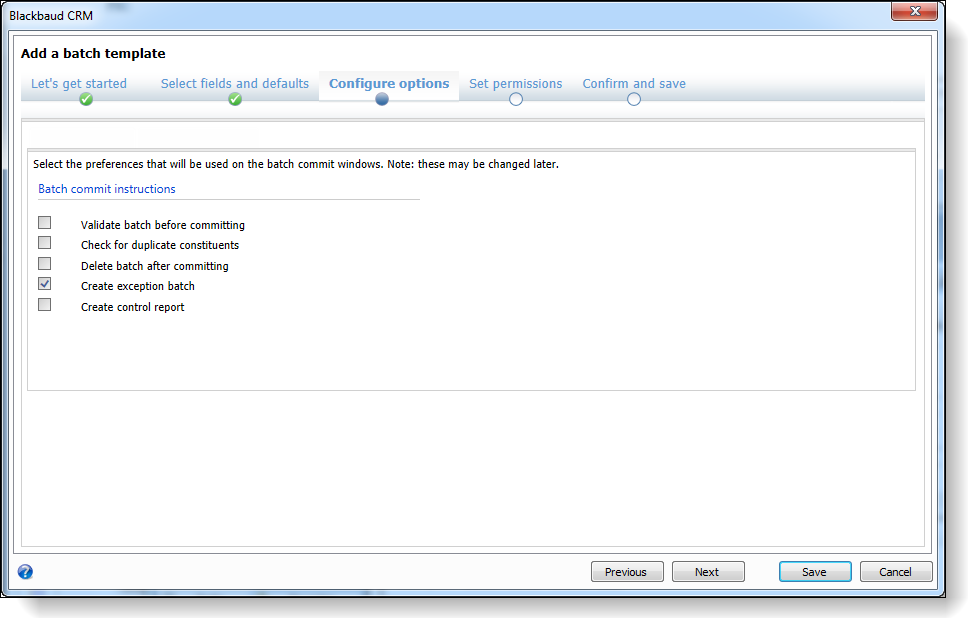
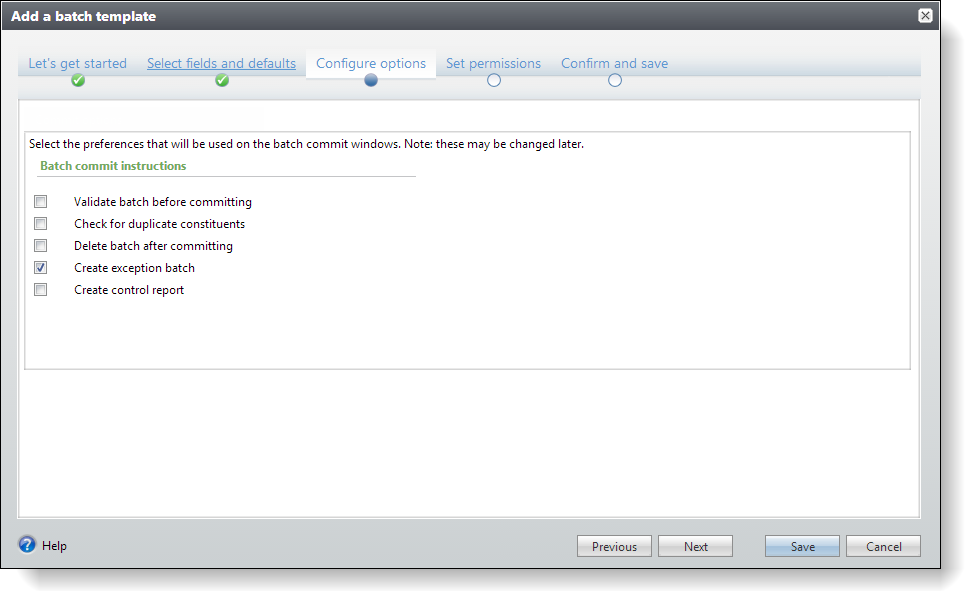
Figure: Commit options
Below is a table describing each of the commit options. Later within this document, we will provide a detailed explanation of how to validate a batch along with an example.
| Screen Item | Description |
|---|---|
|
Validate batch before committing |
Select this checkbox to validate the batch before you commit it to the database. When you validate a batch, the program examines all the information entered in the batch to determine whether data entry errors exist. |
|
Check for duplicate constituents |
Select this checkbox to check new constituent data in a constituent or revenue batch for possible duplicate constituents in your database. Select this checkbox to check new constituent data in a constituent batch for possible duplicate constituents in your database. |
|
Delete batch after committing |
Select this checkbox to delete the batch after you commit it to the database. If you select to delete a batch after you commit it to your database, you cannot reuse its batch number. Each batch number must be unique. |
|
Create exception batch |
Select this checkbox to create a batch of all records that do not commit to the database. |
|
Create control report |
Select this checkbox to generate a control report after you commit the batch to the database. The control report describes the committed batch and provides information about the records included in the batch. |
Step 7 - Review permissions.
From the batch template, under Set permissions, you can assign permissions by system role. The permissions, "Grant" and "Deny," can be assigned to a system role for administration and to customize batch field options.
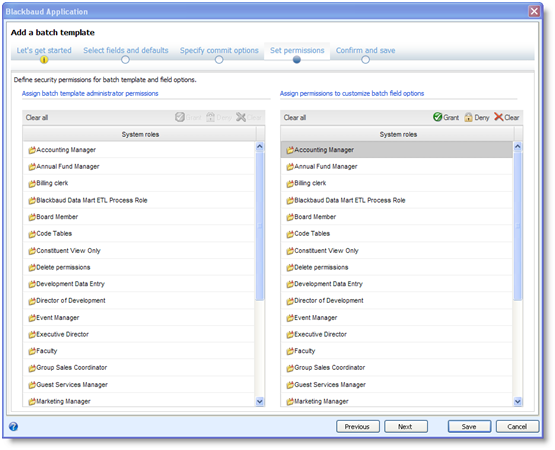

Figure: Assign permissions
| Screen Item | Description |
|---|---|
| Assign permissions to edit this batch template |
In the System rolesbox on the left, you can assign permissions to edit this batch template. To enable users in a specific system role to edit the batch template, select the system role and click Grant. The status of the selected system role changes to GRANTED. To prevent users in a specific system role from administering the batch template, select the system role and click Deny. The status of the selected system role changes to DENIED. If a user has multiple system roles and one of those roles is denied access rights, he or she cannot administer the batch template, even if another of his or her system roles is granted rights. To not grant a user in a specific system role access rights but also not prevent the user from administering the batch template, such as for a user with multiple system roles, you can choose to neither grant nor deny the system role administrator rights to the batch template. To remove the GRANTED or DENIED status assigned to a system role, select the role and click Clear. To remove all GRANTED and DENIED statuses assigned to the system roles, click Clear. |
| Assign permissions to customize fields within a batch |
In the System rolesbox on the right, you can assign permissions to customize fields within a batch. To enable users in a specific system role to customize the fields within a batch, select the system role and click Grant. The status of the selected system role changes to GRANTED. To prevent users in a specific system role from customizing the batch template, select the system role and click Deny. The status of the selected system role changes to DENIED. If a user has multiple system roles and one of those roles is denied access rights, he or she cannot customize the batch template, even if another of his or her system roles is granted rights. To not grant a user in a specific system role access rights but also not prevent the user from customizing the batch template, such as for a user with multiple system roles, you can choose to neither grant nor deny the system role rights to customize the batch template. To remove the GRANTED or DENIED status assigned to a system role, select the role and click Clear. To remove all GRANTED and DENIED statuses assigned to the system roles, click Clear. |
Step 8 - Confirm and save.
The Confirm and save tab allows us to review our selection before we save the batch template. After review, click the Save button to save the batch template.