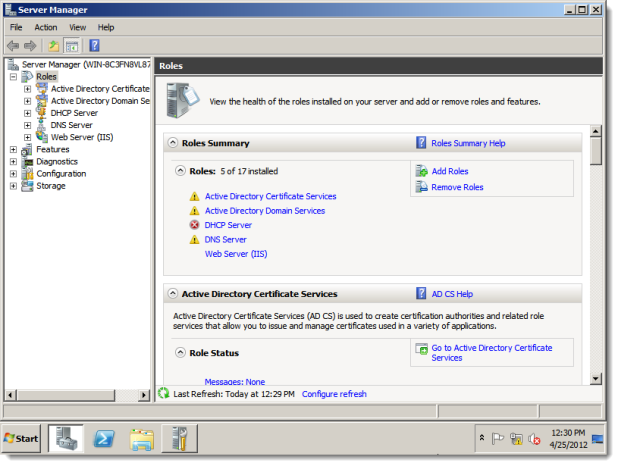
Select Start > Administrative Tools > Server Manager.
Server Manager appears. Select Roles > Add Roles.
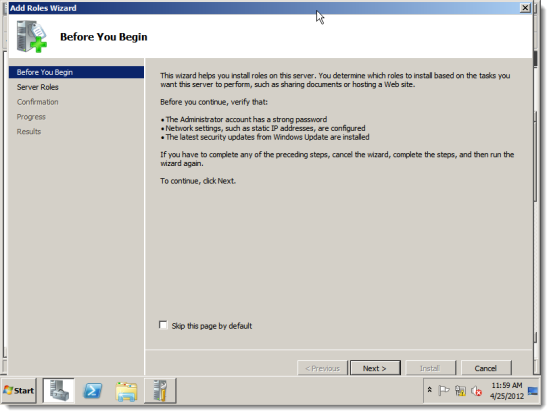
The Add Roles Wizard appears. By default, the Before You Begin information screen is shown. Click Next.
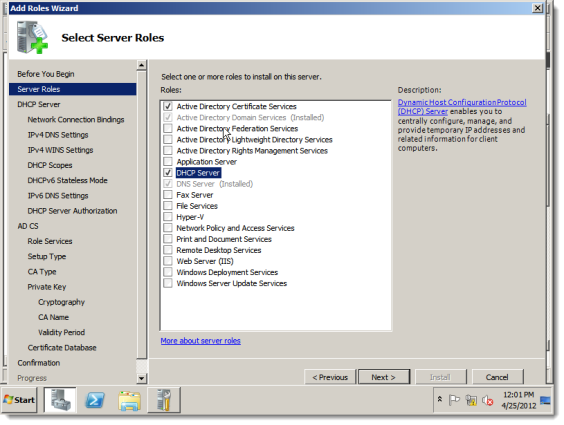
The Select Server Roles screen appears.
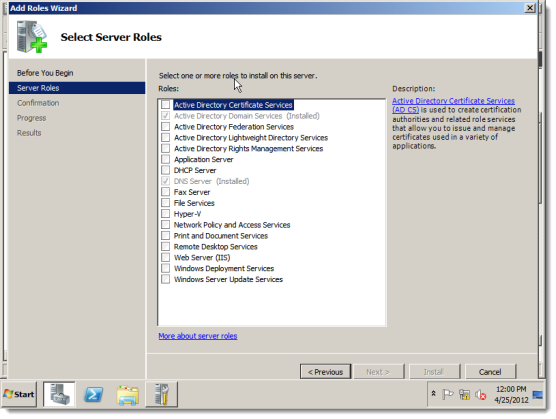
Select Active Directory Certificate Services and DHCP Server, and then click Next.
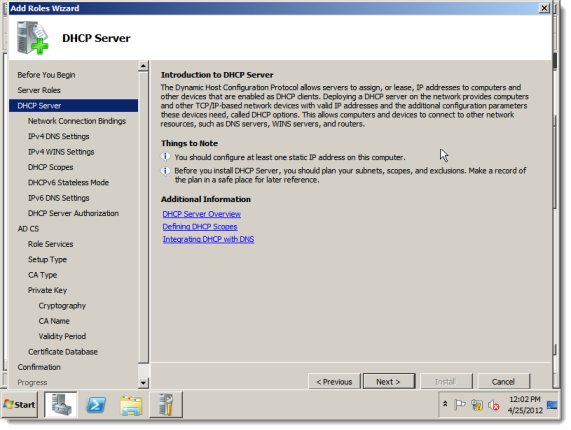
The DHCP informational screen appears. Read it and click Next.
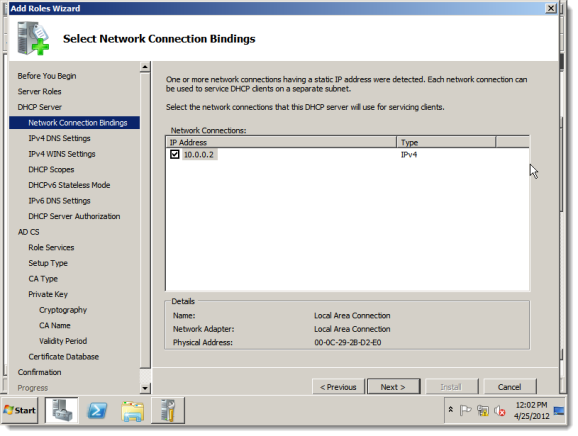
The Select Network Connection Bindings screen appears. Keep the static IP address selected and click Next.
The Specify IPv4 DNS Server Setting screen appears.
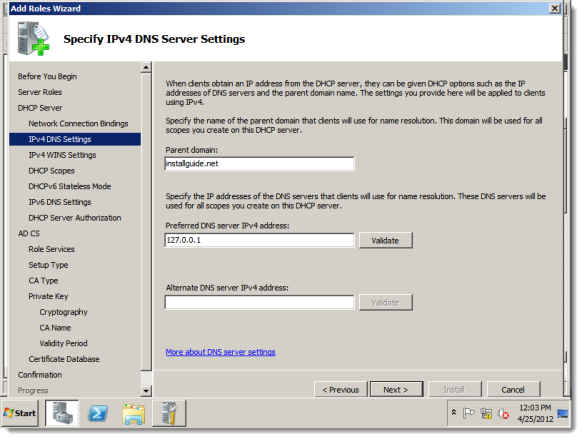
Enter the domain from before and the IP address for the DNS server. Click Next.

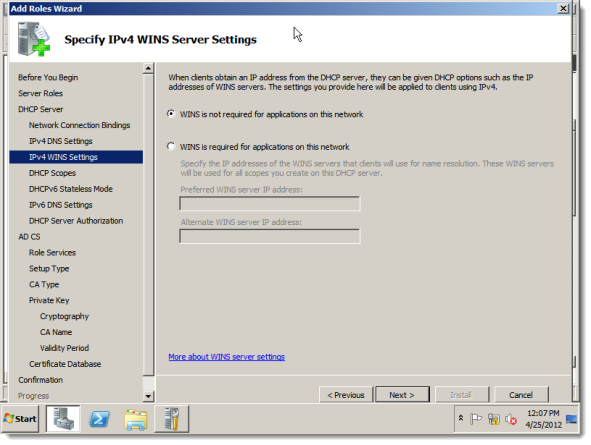
The Specify IPV4 WINS Server Settings screen appears. Select WINS is not required for applications on this network. Click Next.
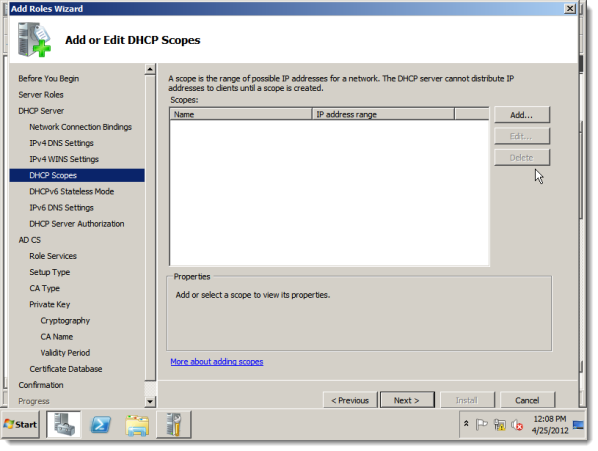
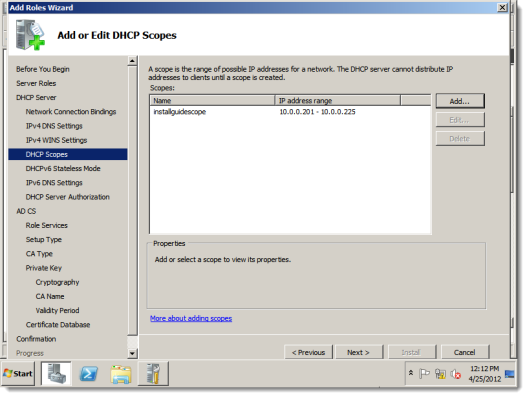
The Add or Edit DHCP Scopes screen appears. Click Add.
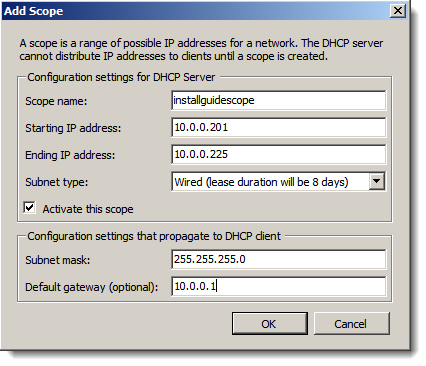
The Add Scope screen appears.
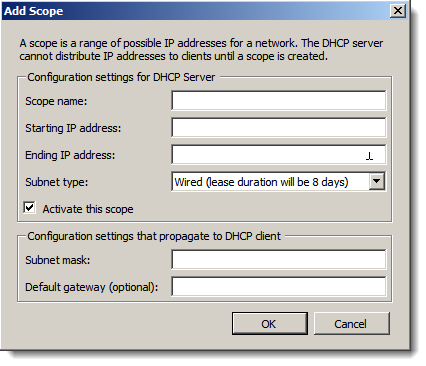
Enter the scope name, starting IP address, ending IP address, subnet type, subnet mask, and default gateway. Click OK.
You return to the Add or Edit DHCP Scopes screen, with the scope in place. Click Next.
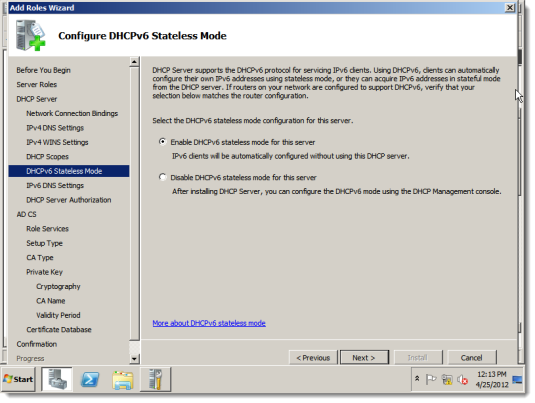
The Configure DHCPv6 Stateless Mode screen appears. Select Enable DHCPv6 stateless mode for this server. Click Next.
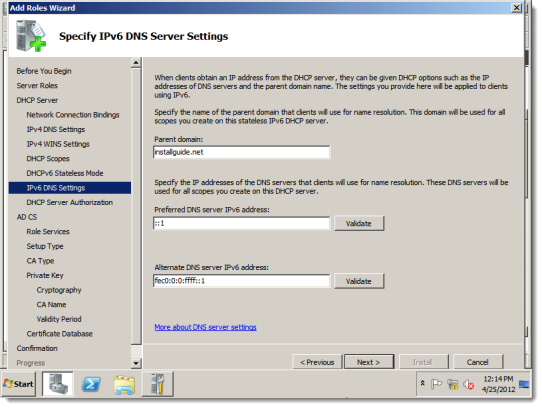
The Specify IPv6 Server Settings screen appears. Accept the defaults and click Next.
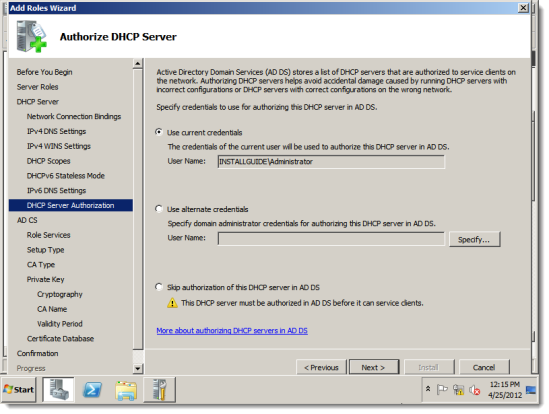
The Authorize DHCP Server screen appears. Select User current credentials. Click Next.
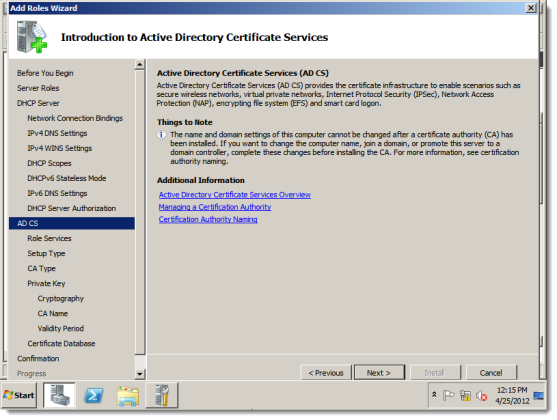
The Introduction to Active Directory Certificate Services informational screen appears. Read it and click Next.
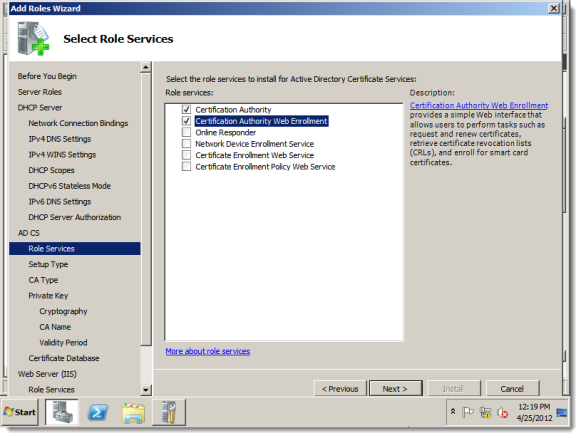
The Select Roles Services screen appears. Select Certification Authority.

Next select Certification Authority Web Enrollment.
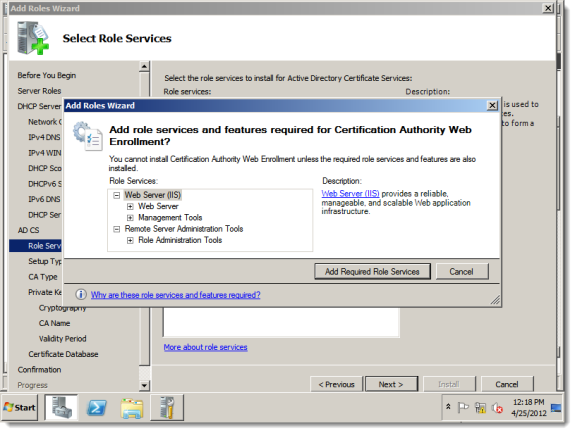
If Web Server IIS and Remote Server Administration Tools are not installed, the wizard prompts you to install them. Click Add Required Role Services to install from the wizard. Click Next..
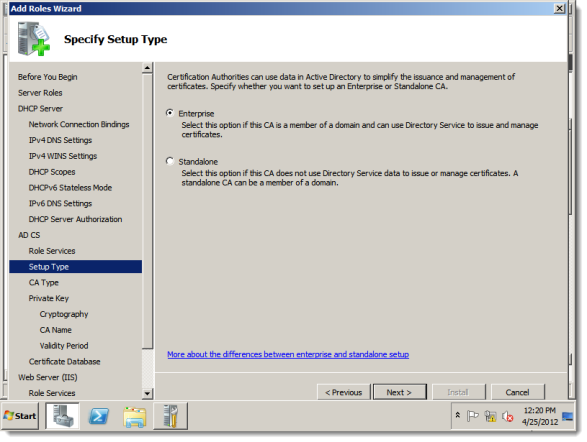
The Specify Setup Type screen appears. Select Enterprise. Click Next.
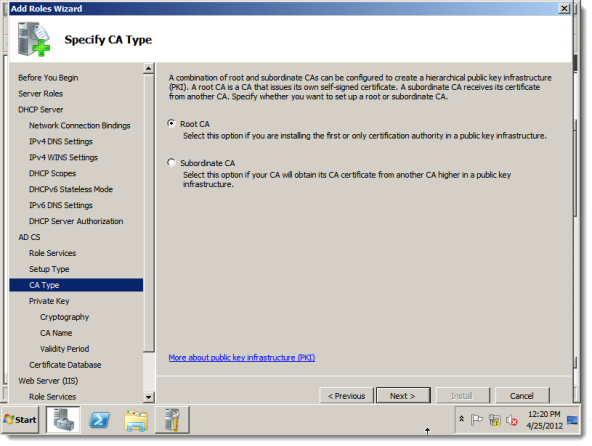
The Specify CA Type screen appears. Select Root CA. Click Next.
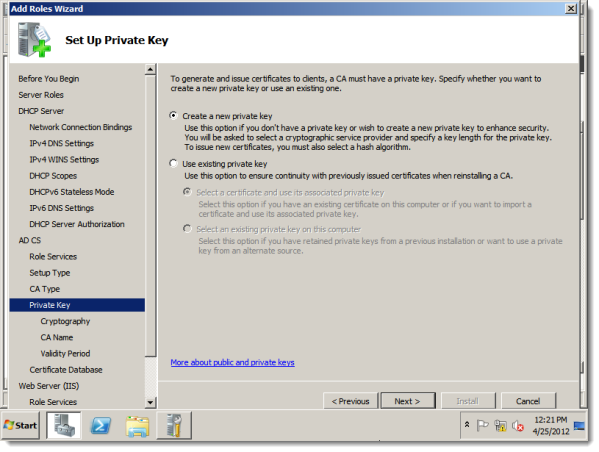
The Set Up Private Key screen appears. Select Create a new private key. Click Next.
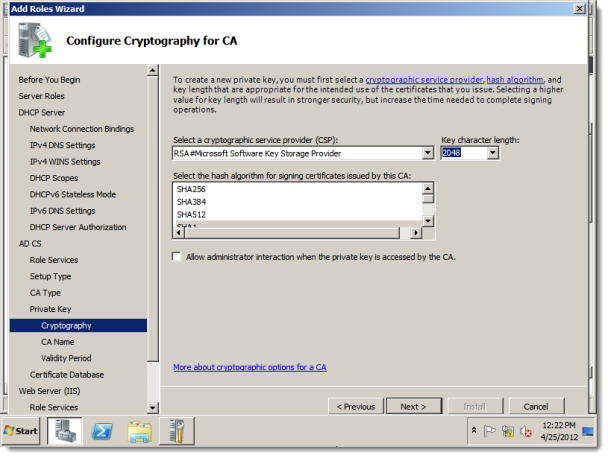
The Configure Cryptography for CA screen appears. Accept the defaults and click Next.
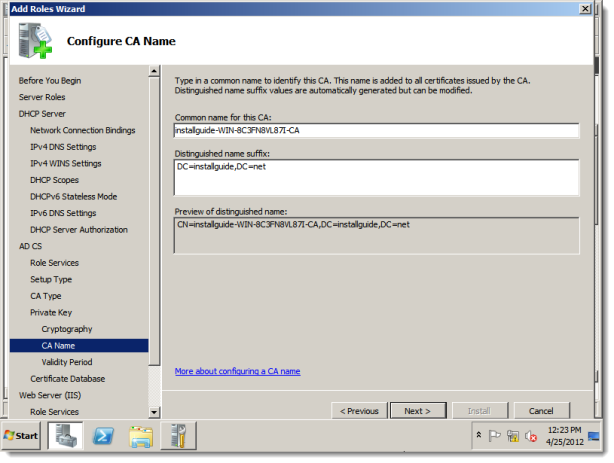
The Configure CA Name screen appears. Accept the defaults and click Next.
The Set Validity Period screen appears. Accept the default and click Next.

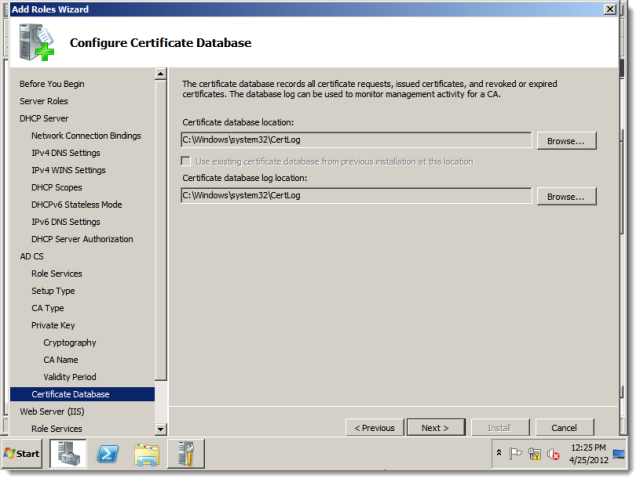
The Configure Certificate Database screen appears. Accept the default locations and click Next.
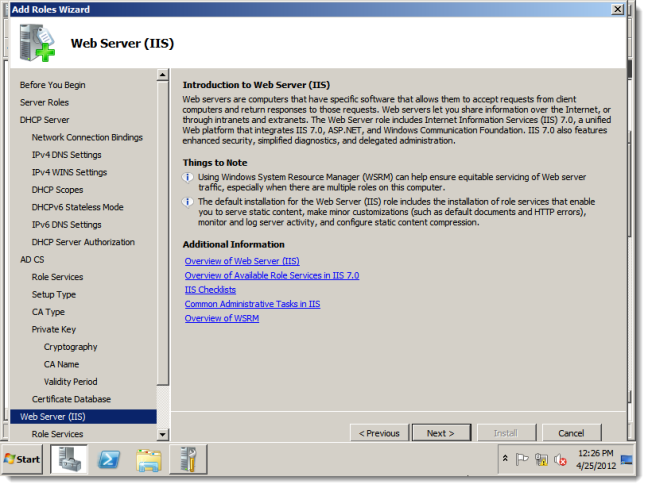
The Web Server (IIS) informational screen. Read it and click Next.
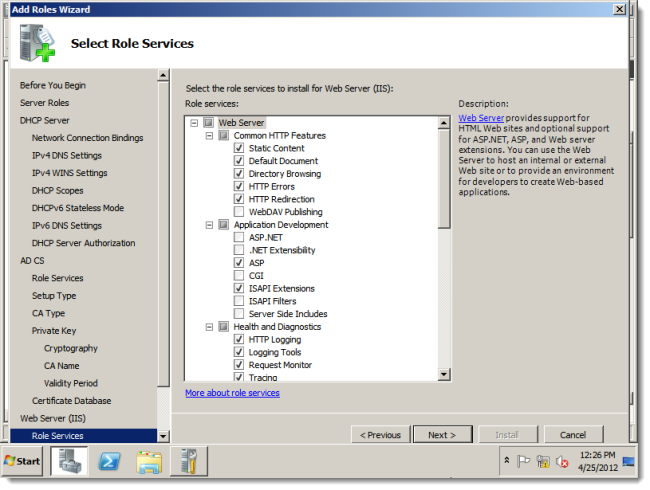
The Select Role Services screen appears. Accept the defaults and click Next.
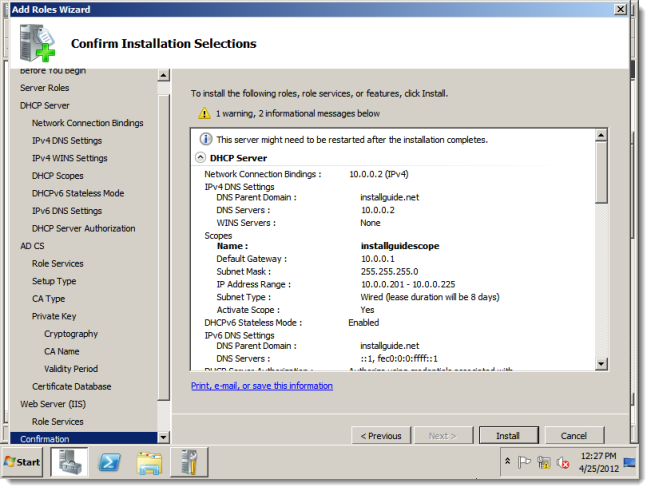
The Confirm Installation Selections screen appears. Confirm your selections and click Install.
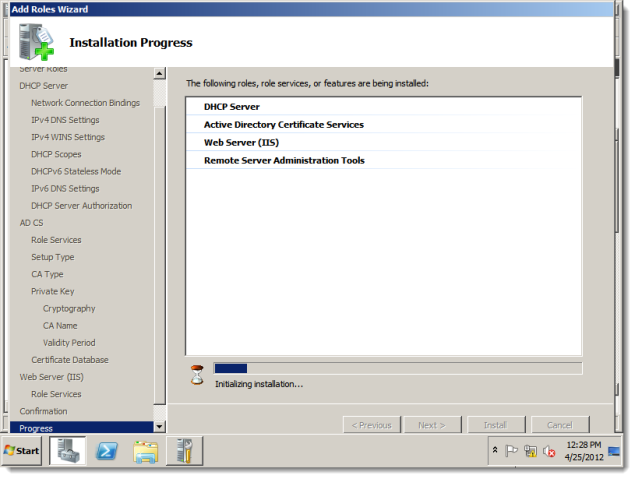
The installation runs and the Installation Progress screen appears.
The installation completes and the Installation Results screen appears.
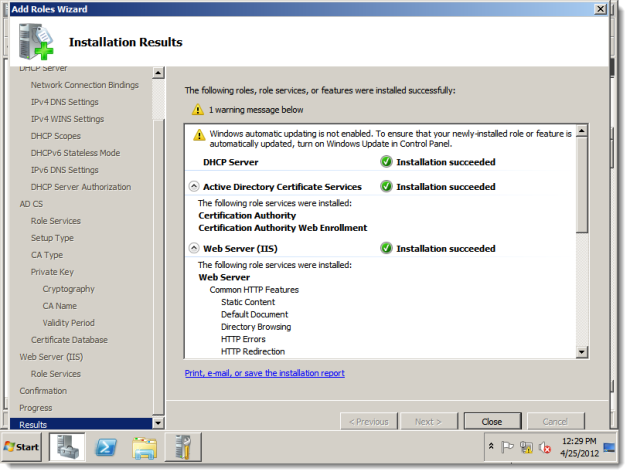
Click Close to complete the wizard. You return to Server Manager.