Insert the installation media and run the setup. For example, AutoPlay appears. From AutoPlay, click Run SETUP.EXE.
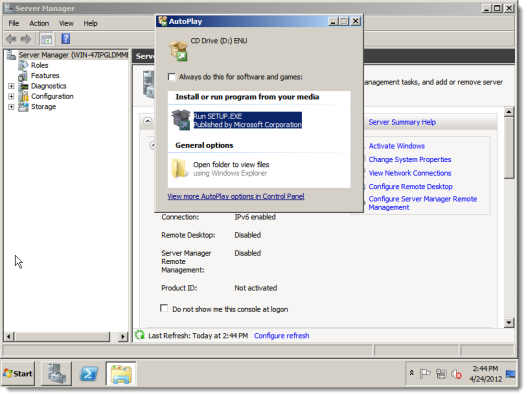
Note: The installer may take a few minutes to begin. Also, watch for the unboxing icon in the task bar. Sometimes the installer windows are not brought to the front of the screen.
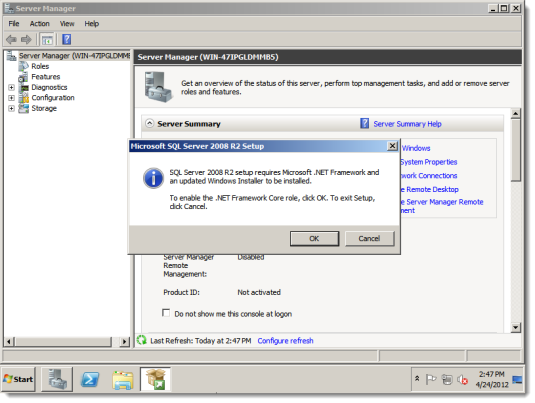
If the .NET framework Core role is not enabled, a dialog appears. This doesn't mean that .NET is not installed. The Core role is just not enabled. Click OK to enable the Core role.
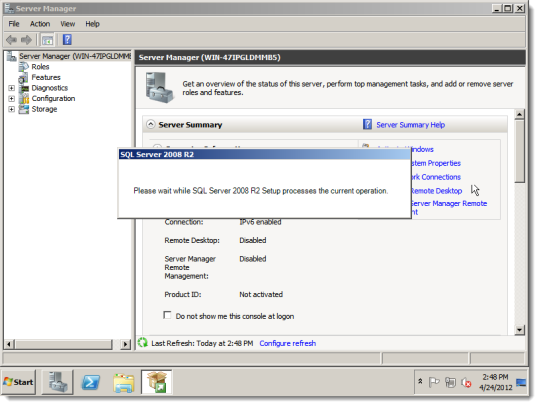
A processing screen appears.
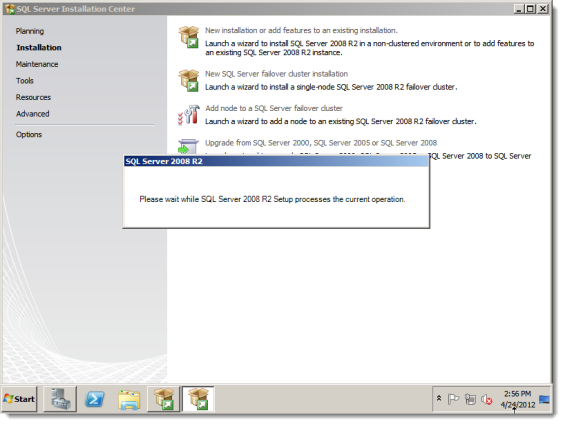
The SQL Server Installation Center appears.
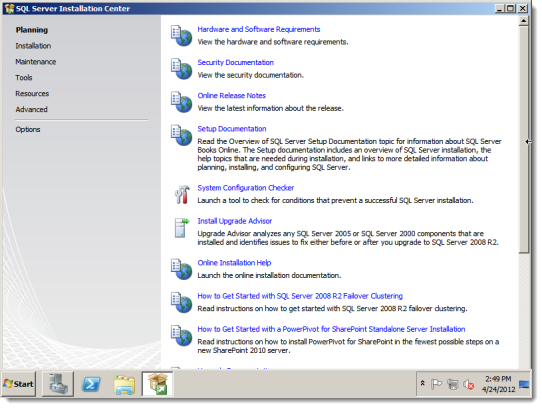
Configuration Checker runs.
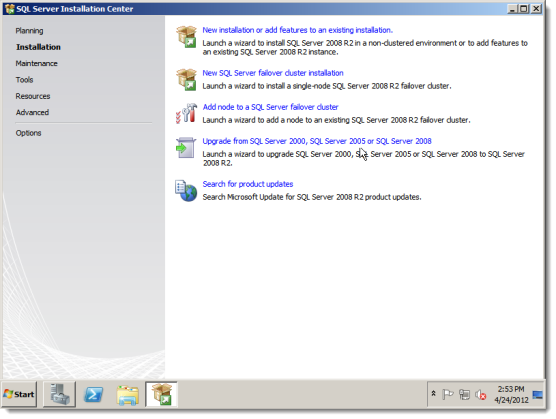
From the Installation tab. Click New installation or add features to an existing installation.
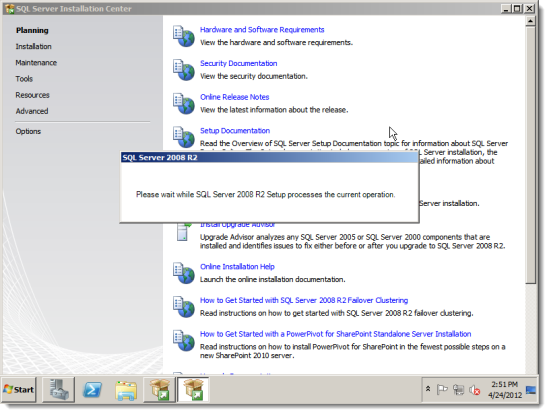
Processing...

The screen may alternate between windows...
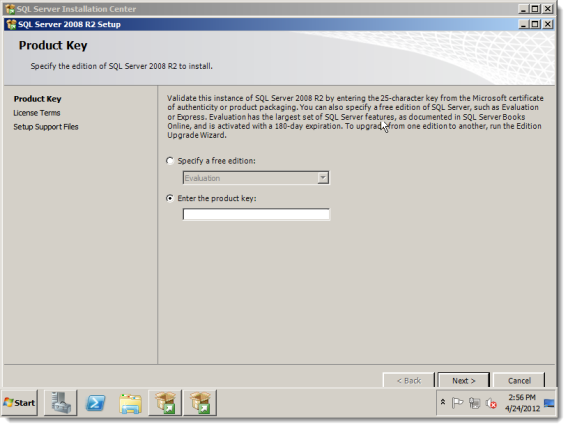
The Product Key screen appears. Enter your product key and click Next.
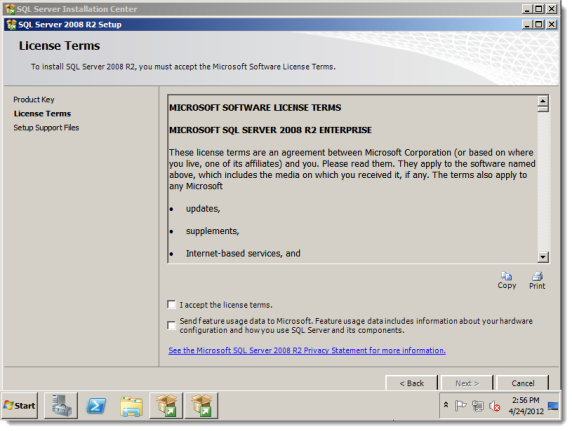
The License Terms screen appears. Read the license terms. If you agree to the license terms, accept them and click Next.

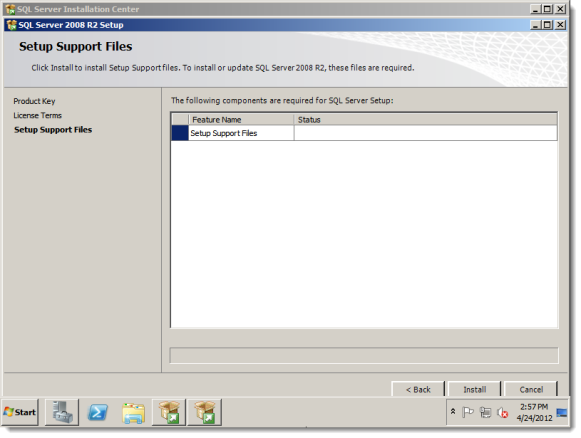
The Setup Support Files screen appears. Click Install.
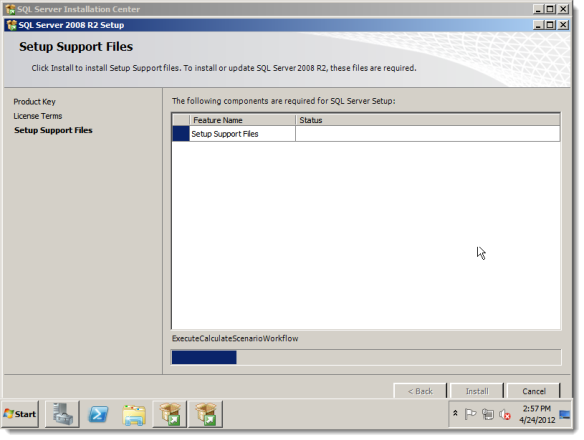
Processing...

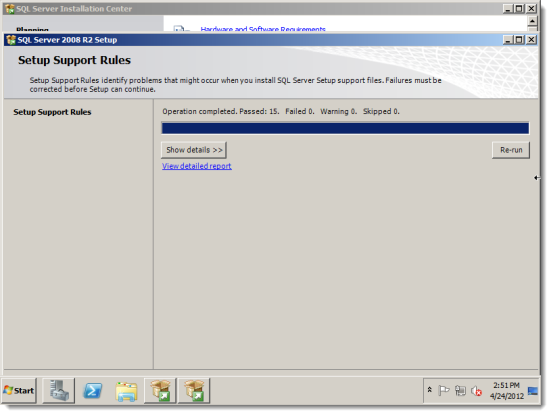
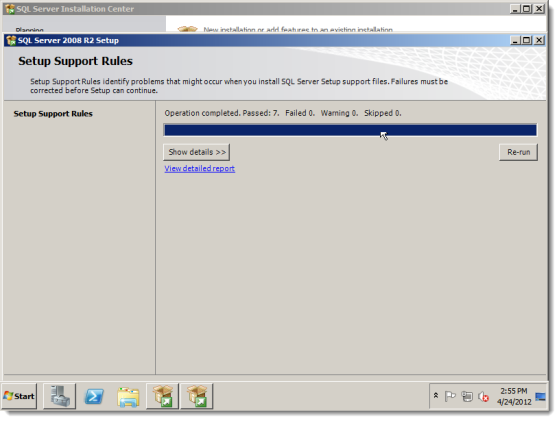
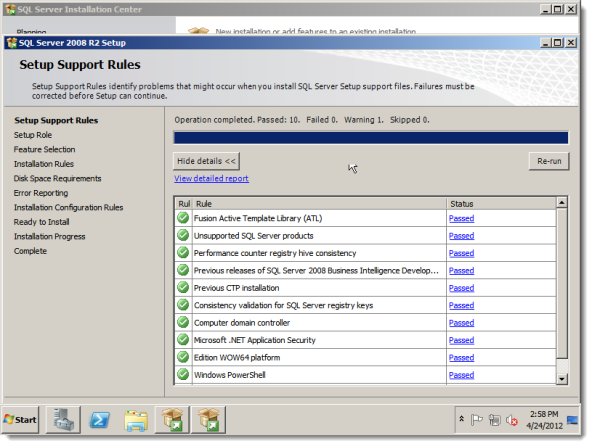
The Setup Support Rules screen appears.
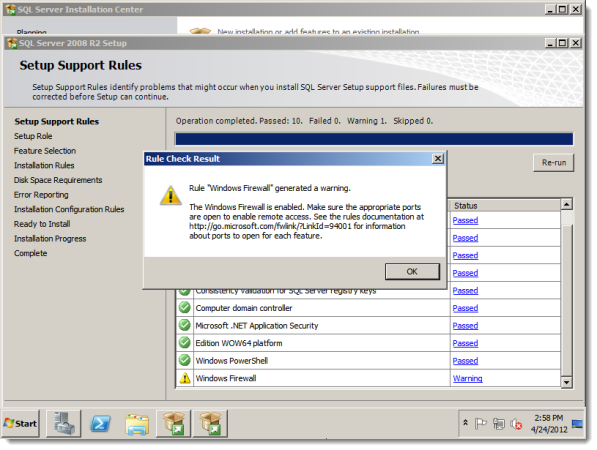
Depending on how Windows Firewall is configured, you may receive this Rule Check Result:
Rule "Windows Firewall" generated a warning.
The Windows Firewall is enabled...
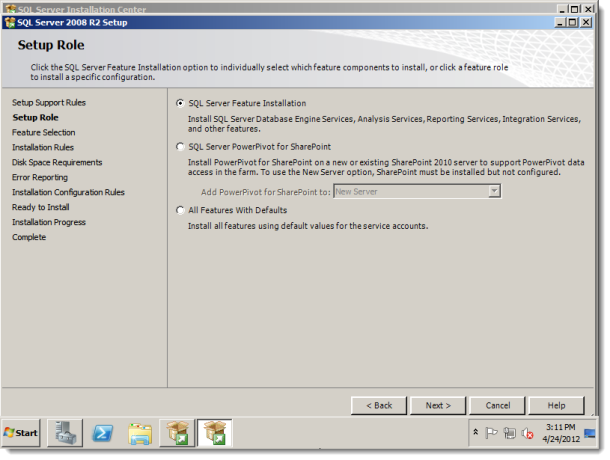
The Setup Role screen appears. Select SQL Server Feature Installation and click Next.
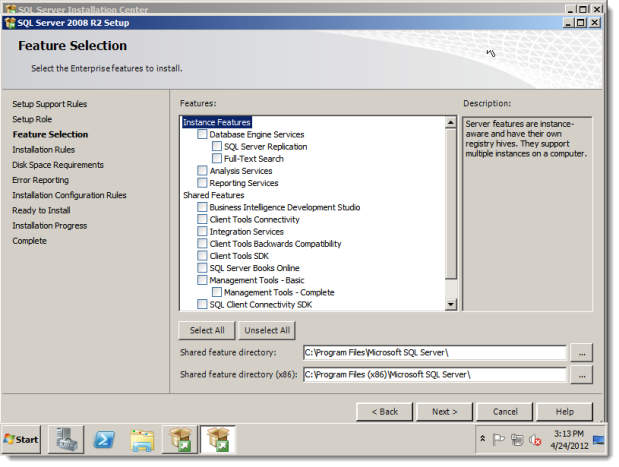
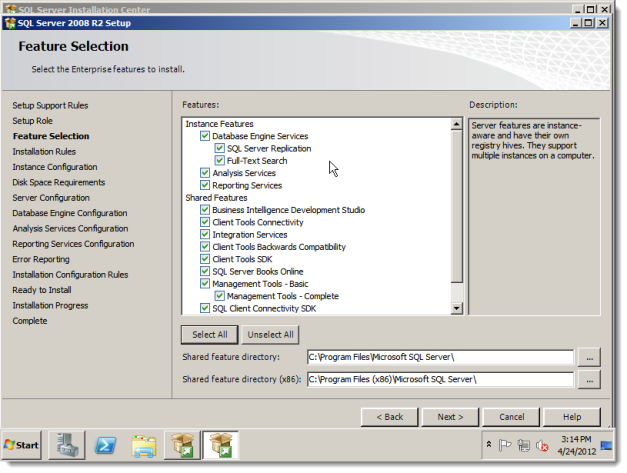
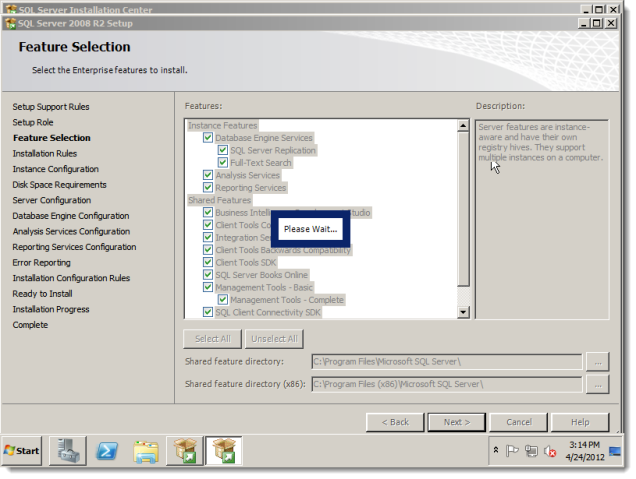
The Feature Selection screen appears. Click Select All and click Next.
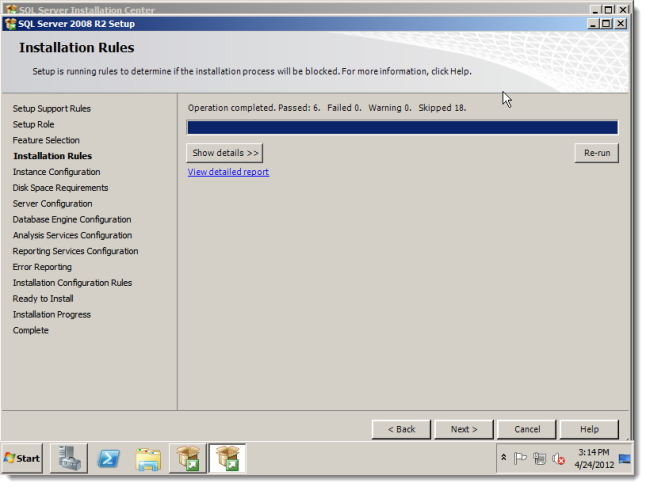
The Installation Rules screen appears. If operation completes without failures, click Next.
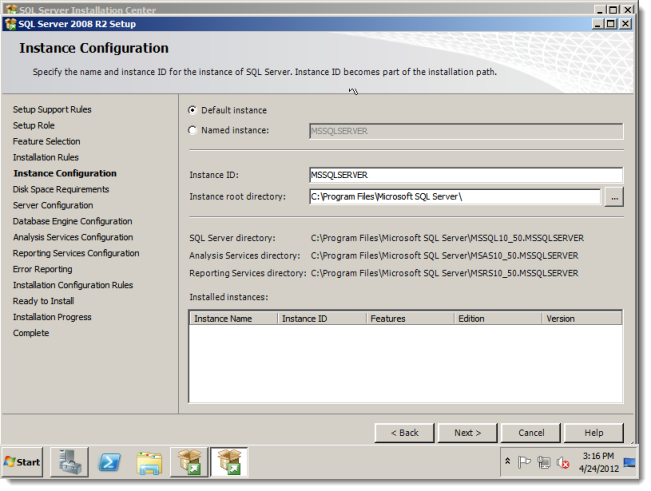
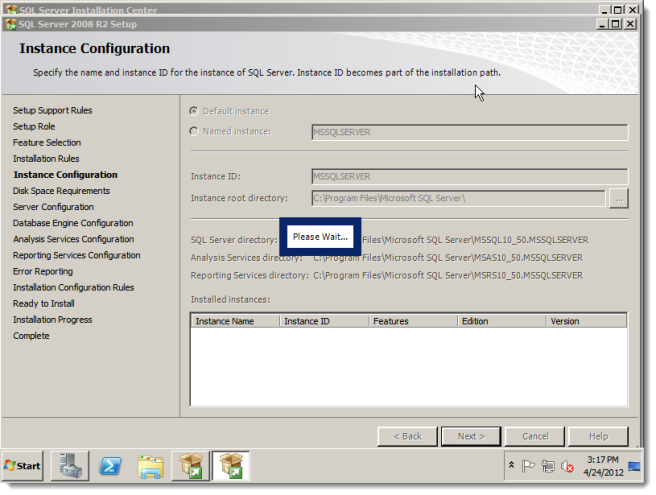
The Instance Configuration screen appears. Select Default instance and click Next.
The Disk Space Requirements screen appears. Review the summary. If your system can support the requirements, click Next.
![]()
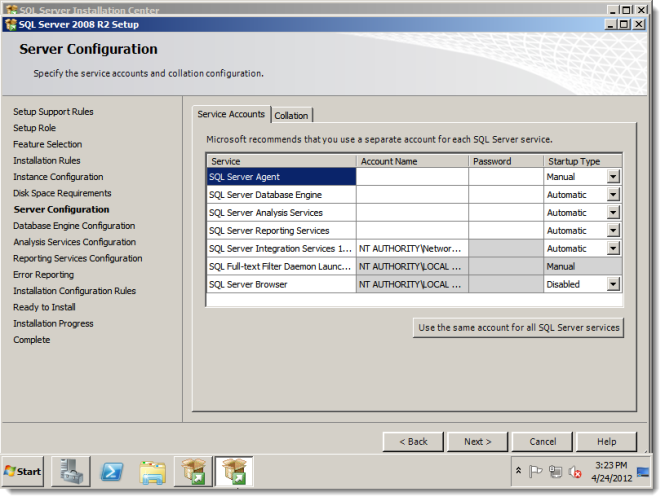
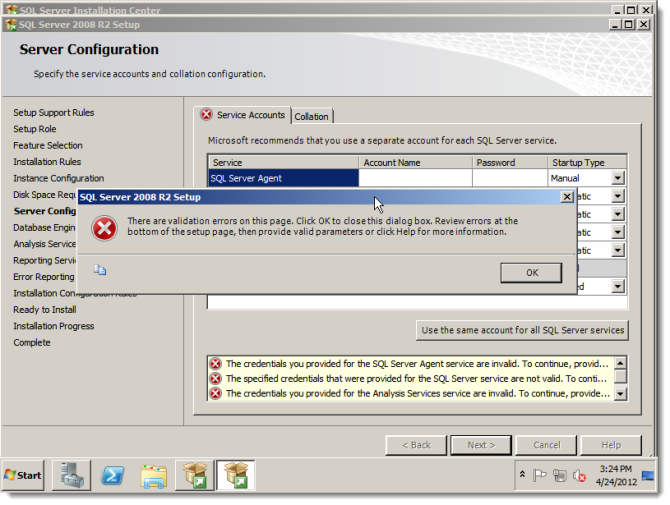
The Server Configuration screen appears. Select Account Names as follows and click Next:
-
SQL Server Agent: NT AUTHORITY\NETWORK SERVICE
-
SQL Server Database Engine: NT AUTHORITY\SYSTEM
-
SQL Server Analysis Services: NT AUTHORITY\NETWORK SERVICE
-
SQL Server Reporting Services: NT AUTHORITY\NETWORK SERVICE
-
SQL Server Integration Services: NT AUTHORITY\NETWORK SERVICE
If you don't specify credentials, you will receive a message like this:
There are validation errors on this page. Click OK to close this dialog box...

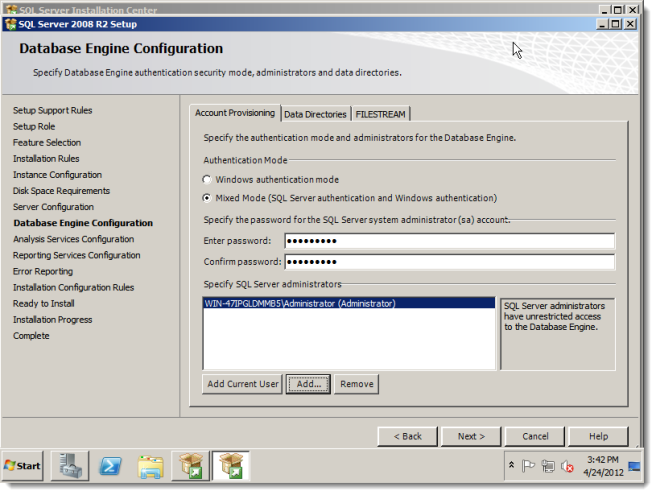
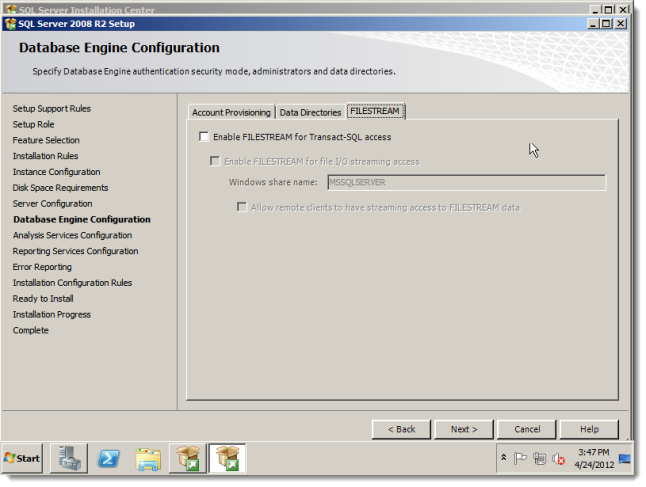
The Database Engine Configuration screen appears. From the Account Provisioning tab, under Authentication Mode, click Mixed Modeand enter credentials.
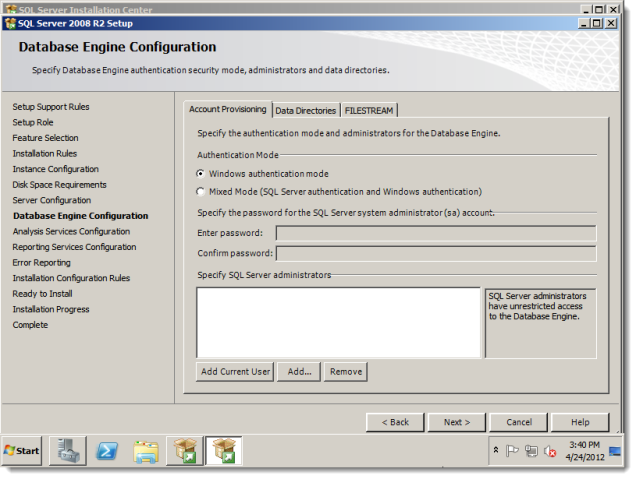
Under Specify SQL Server administrators, click Add Current User. Then click Next.
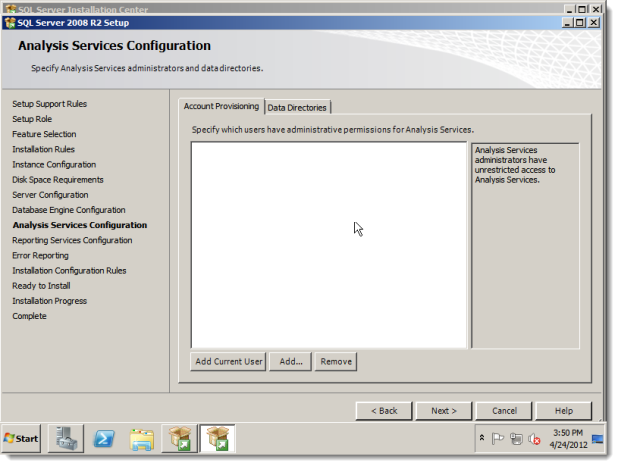
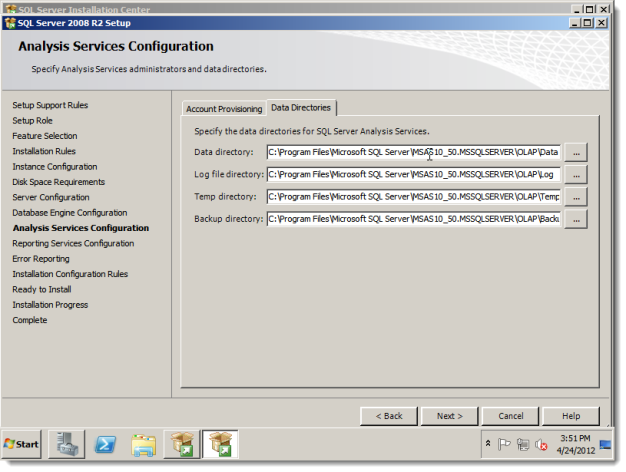
The Analysis Services Configuration screen appears. Click Add Current User and click Next.

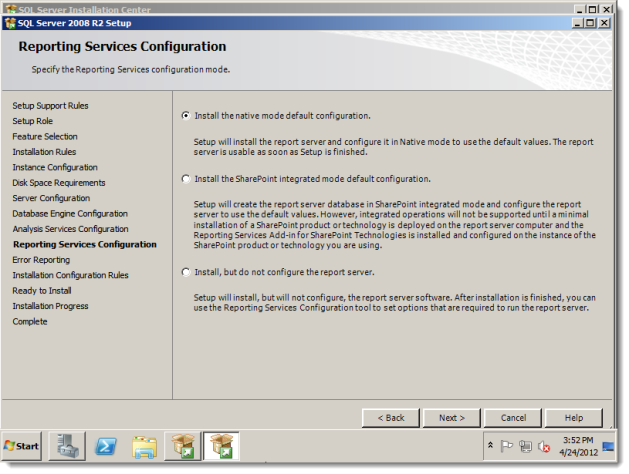
The Reporting Services Configuration screen appears. Click Install the native mode default configuration and Next.
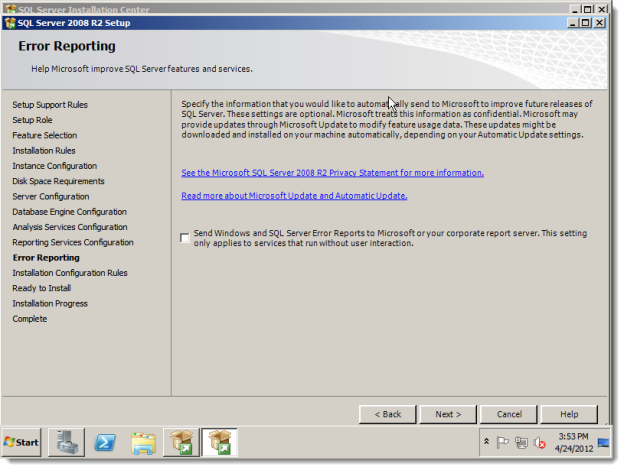
The Error Reporting screen appears. Make your selection and click Next.
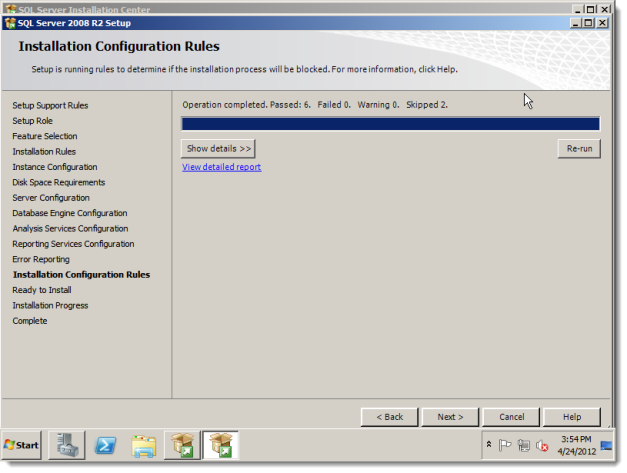
The Installation Configuration Rules screen appears. If the operation completes with no failures, click Next.
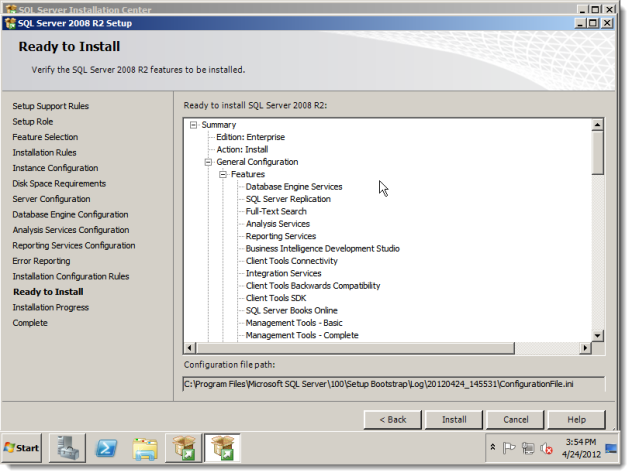
The Ready to Install screen appears. Review it and click Install.
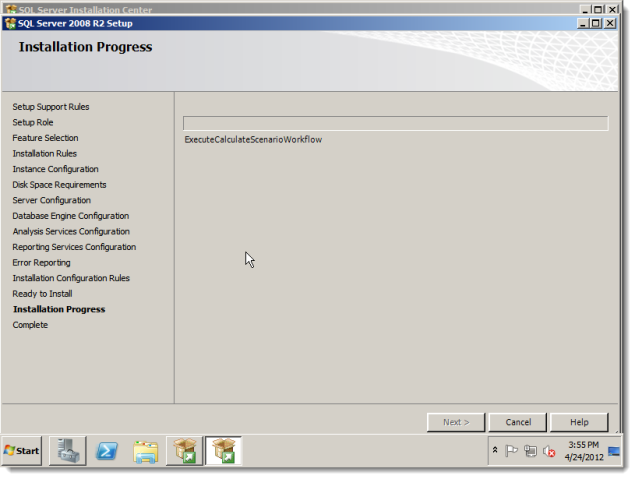
The Installation Progress screen appears.
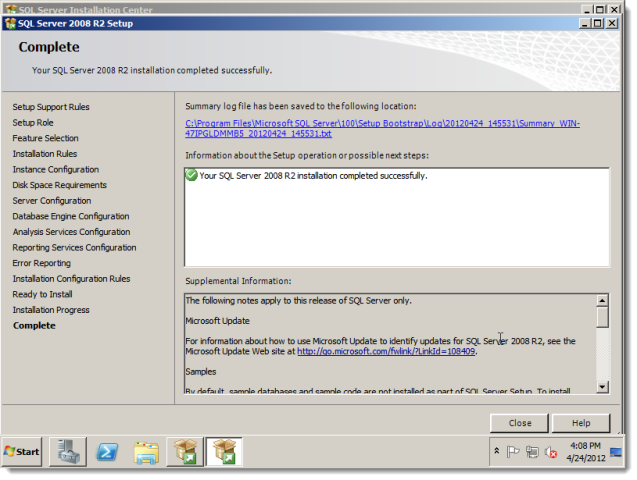
The Complete screen appears.