Go to the location where you downloaded the executable and run it. The Client Information screen appears
Note: If your login does not run executables as an administrator by default, right-click the executable and select Run as administrator.
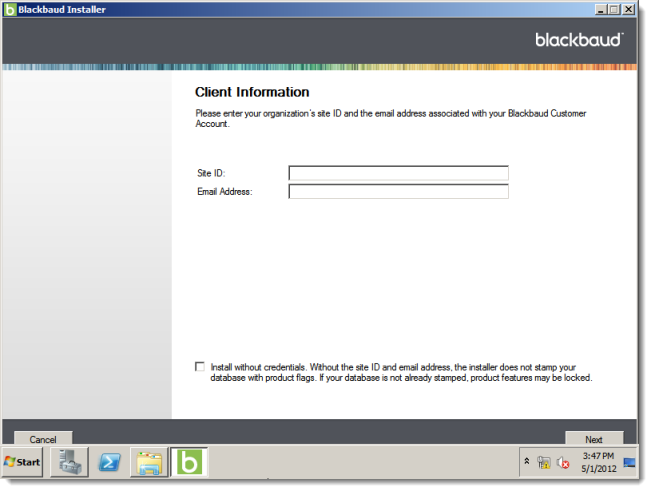
Enter the unique client ID you received from your Blackbaud account manager and the email address associated with your account. The Blackbaud Installer uses these credentials to ensure the installation includes all features your organization purchased.
Tip: To request your site ID or email address, send an email message to solutions@blackbaud.com or call 1-800-443-9441.
To install without your credentials, select Install without credentials. If you select this checkbox, the installer does not stamp the database, and product features may be locked if the database is not already stamped.
Click Next. The Blackbaud Installer screen appears.
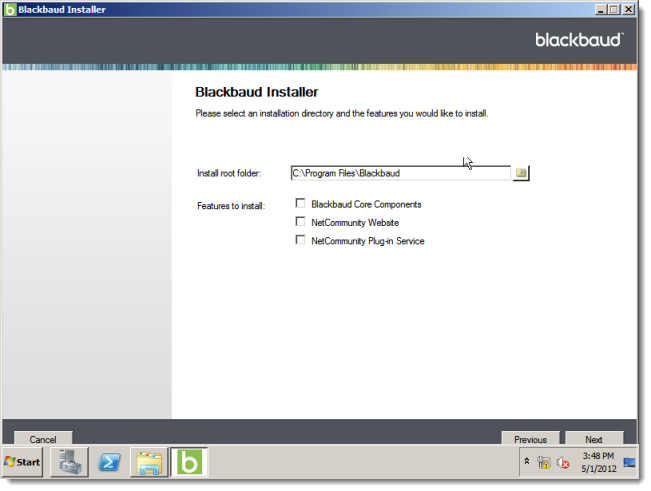
Select the installation directory and the features to install. For the web server that hosts your website in the three-machine scenario, select NetCommunity Website and NetCommunity Plug-in Service. For information about the features, see Install Infinity.
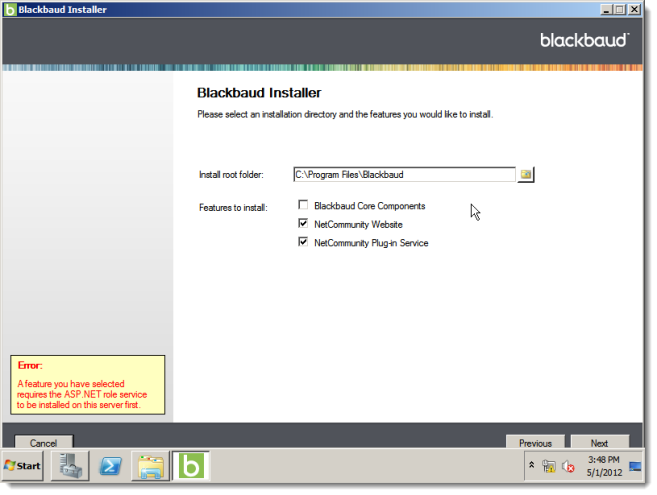
Click Next. If the ASP.NET role service is not installed, an error message appears. For instructions to install, see Add ASP.NET Role Service.

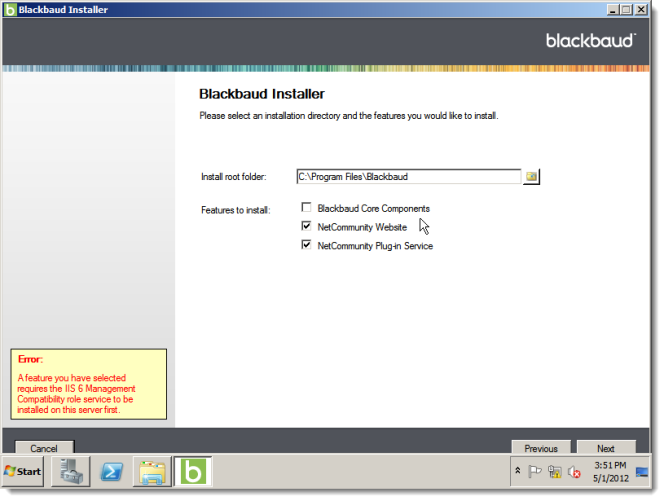
If the IIS 6 WMI Compatibility role service is not installed, an error message appears. For instructions to install, see Add IIS 6 WMI Compatibility Role Service.
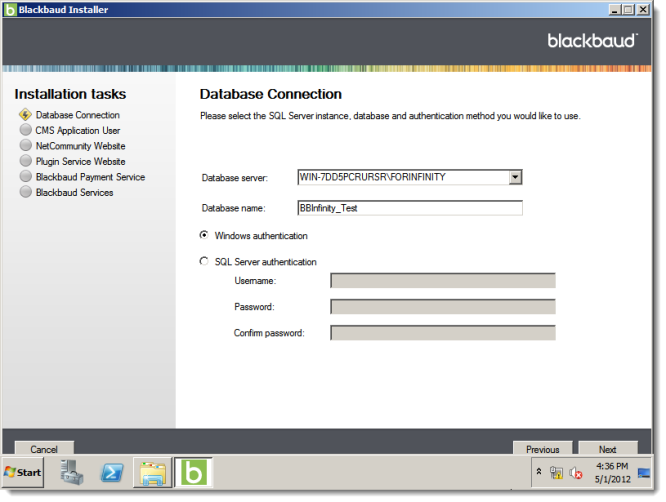
The Database Connection screen appears.
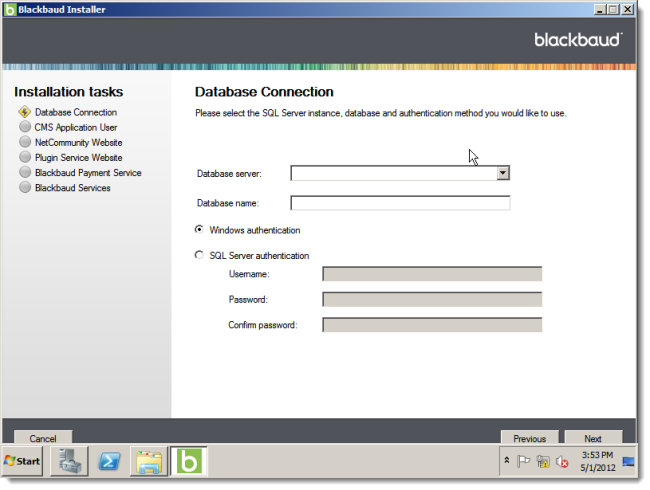
In the Database server and Database name fields, enter the SQL Server instance and database name for your Infinity database. For instructions about how to restore a database, see Restore the Database.
Select whether to use Windows authentication or SQL Server authentication to connect to the SQL Server instance. If you select SQL Server authentication, enter a user name and password to use.
Click Next. For SQL Server authentication, you proceed to the NetCommunity Website screen. But for Windows authentication, the CMS Application User screen appears.

Select the account to use to connect to the SQL Server instance.
-
To use the default network service account to connect to the bbAppFx web service, select Network Service. Blackbaud Internet Solutions also uses this account to connect the SQL Server instance. For this option, you must be logged in with a network account that has local administrative rights.
-
To use a Windows user account to connect to the bbAppFx web service, select Specific User and enter the user name and password. Blackbaud Internet Solutions also uses this account to connect the SQL Server instance.
The program adds the account you select as an application user with system administrator rights in Blackbaud CRM. If you later run the Blackbaud Internet Solutions application pool as a different user, you must grant system administrative rights to that application user. For information about how to add an application user and grant system administrator rights, see the Administration Guide.
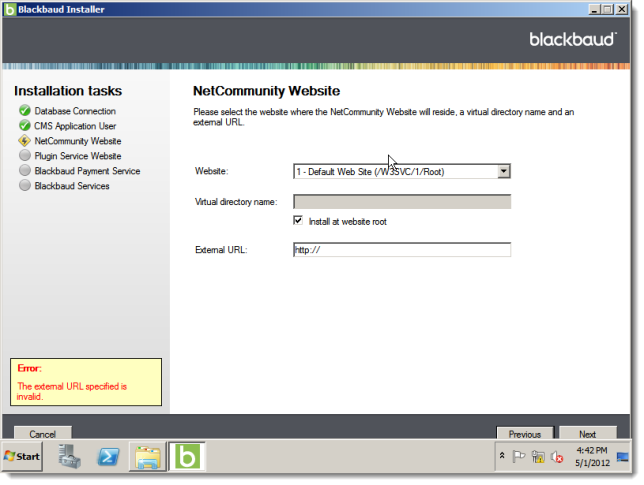
Click Next. The NetCommunity Website screen appears.

In the Website field, select the website where your Blackbaud Internet Solutions site will reside.
In the Virtual directory name field, enter a name for the virtual directory. The name appears at the end of your website's URL in the External URL field. If you do not want to use a virtual directory, select Install at website root . This disables the Virtual directory name field and removes the directory from the URL in the External URL field.
In the External URL field, edit the URL for your website if it is different than the default entry.

Click Next. The Plugin Service Website screen appears.
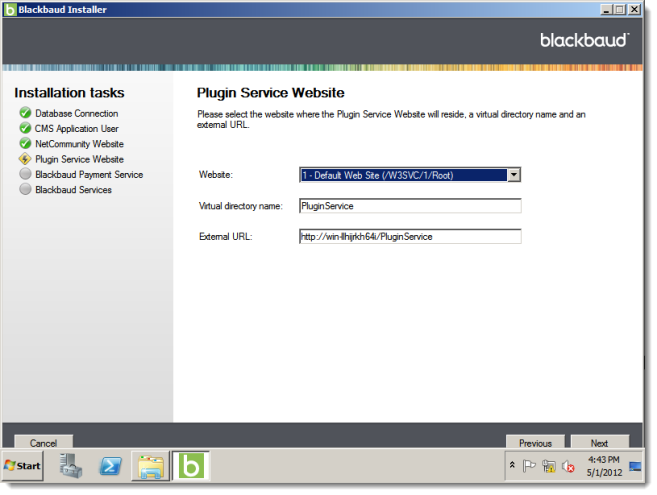
In the Website field, select the website where the plug-in service site will reside.
In the Virtual directory name field, enter a name for the virtual directory. The name appears at the end of the URL in the External URL field.
In the External URL field, edit the URL for the plug-in web service site if it is different than the default entry.
Click Next. The Blackbaud Payment Service screen appears.
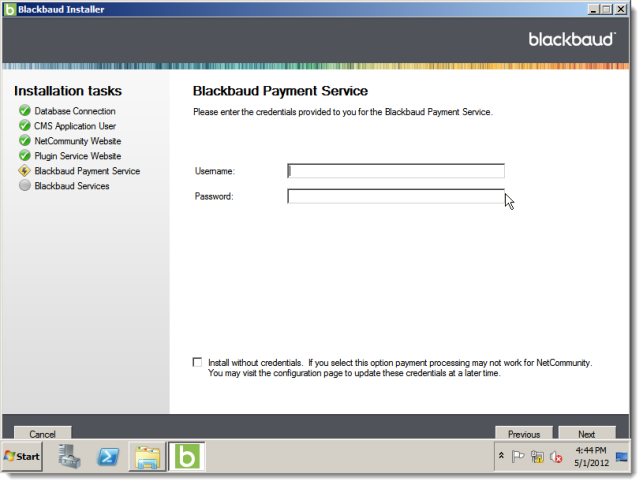
Enter the Blackbaud Payment Service login credentials that you received from your Blackbaud account manager. To request your credentials, send an email to solutions@blackbaud.com or call 1-800-443-9441.
Blackbaud Payment Service securely stores credit card and merchant account information to help you comply with the Payment Card Industry Data Security Standards (PCI DSS). You must set up a Blackbaud Payment Service account before you can complete the installation process.
Click Next. If your Blackbaud Internet Solutions website is hosted by Blackbaud Application Hosting, the Blackbaud Services screen appears.
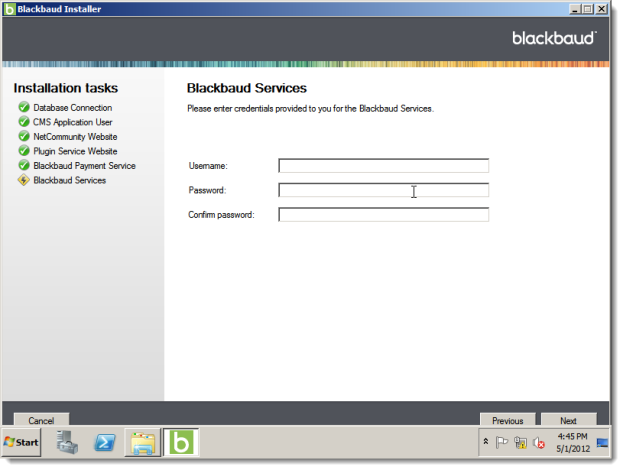
Enter the Blackbaud Services login credentials you received from your Blackbaud account manager. To request your credentials, send an email to solutions@blackbaud.com or call 1-800-443-9441.
Click Next. The Confirmation screen appears.
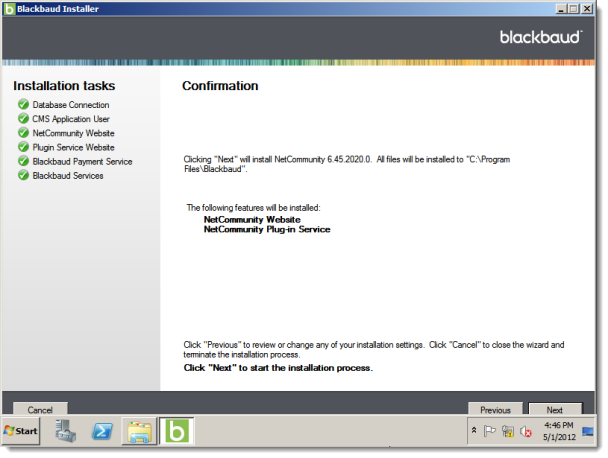
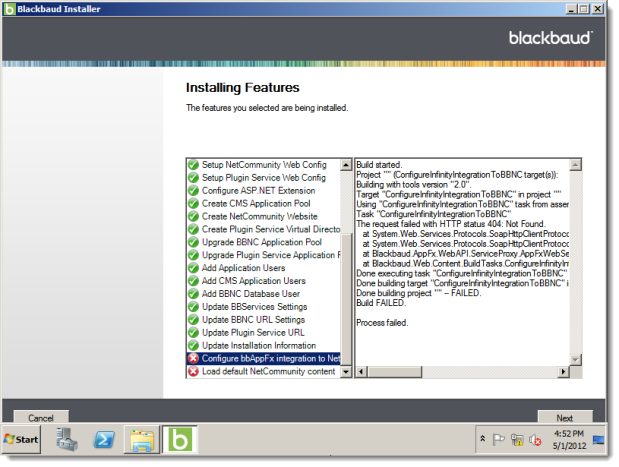
To start the installation, click Next. The installation progress screen tracks the progress of each task in the installation. On the left, the current task is highlighted. On the right, a log describes the progress. As each task finishes, an icon indicates whether it was successful. If a task fails, you can select it to view the progress log and error messages.
If the installation takes longer than four hours to complete, contact Blackbaud Support.
After the process finishes, click Next. The installation summary screen appears.
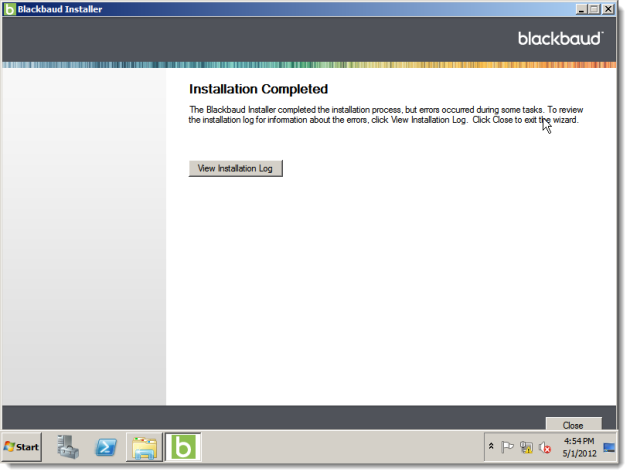
To open a text file that describes the installation, click View Installation Log. The log file is created regardless of whether errors occur. You can also find the installation log file in the \Local Settings\Temp folder for the user who installs the Application Server. For example, for the administrator, a log is created in the C:\Documents and Settings\Administrator\Local Settings\Temp folder.
To exit the Blackbaud Installer, click Close.